Difference between revisions of "Fusion Edge Server 3.0 Static Publication"
(→Step 3: create node.zip) |
|||
| Line 21: | Line 21: | ||
It should look something like the following: | It should look something like the following: | ||
| − | [[ | + | [[File:Node.zip.png]] |
==Step 4: deploy to the Edge Server== | ==Step 4: deploy to the Edge Server== | ||
Revision as of 04:29, 30 June 2021
Contents
Step 1: pull all data from your Fusion Registry
buildFileSystem.bat -api "https://[hostname]/ws/public/sdmxapi/rest" -df all -tgt FileSystem
This will create a directory called ‘FileSystem’ with copies of the structures and data pulled from your Fusion Registry
Step 2: compile the content in the FileSystem directory ready for deployment to your Edge Server
compileFileSystem.bat -src FileSystem -tgt Compiled -sgn signature
This will create another directory called ‘Compiled’ containing all of the data and structures pre-compiled for use by the Edge Server and digitally signed for security using the secret passphrase ‘signature’.
Step 3: create node.zip
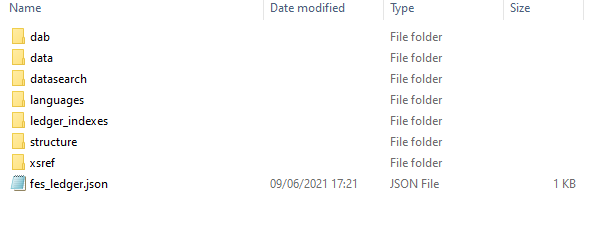
Zip the contents of the Compiled directory into a ZIP file which must be called ‘node.zip’.
It should look something like the following:
Step 4: deploy to the Edge Server
On the Edge Server platform, locate the FusionEdgeServer ‘home’ directory which is usually in the following location:
C:\Users\[username]\MetadataTechnology\FusionEdgeServer
Create the directory if it doesn’t exist.
Create an Edge Server properties file in the FusionEdgeServer ‘home’ directory. An example is attached – but you’ll need to change the app.url to the actual URL you are using.
Copy the ‘node.zip’ into the same directory.
The ‘home’ directory should look something like the following (ignore tmp):
Step 5: start the Edge Server
When it starts, check that the data and structure web services are responding as expected.
