Install Fusion Registry
Jump to navigation
Jump to search
Contents
Overview
There are two steps to complete a fresh Fusion Registry Core installation:
- Connect to the database
- Configure some basic server settings
1. Database Connection
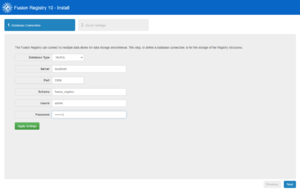
This is where you need to provide the details of how to connect to your MySQL database service, the schema to use, and the database account credentials.
- Choose MySQL as the Database Type
- The Server should be
localhostif you installed MySQL on the same machine as Fusion Registy, or the hostname of the machine running your database service - The default MySQL port is
3306 - The Schema should be the name of the dedicated schema you created when configuring the database, for instance
fusion_registry - The UserId and Password should be those of an account on your database service that has sufficient privilges to read and write to the schema
Clicking 'Apply Settings' will test the connection to the database and automatically build all of the tables.
Database Connection Troubleshooting
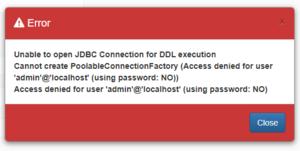
Any problems Fusion Registry encounters connecting to the database service will result in an error message. The example below indicates that the user credentials are wrong.
2. Server Settings
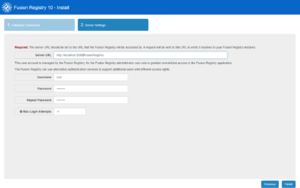
Some basic settings are now required.
- Server URL is the URL on which Fusion Registry is operating. When running on a private machine, this can be set to
http://localhost:8080/FusionRegistry. If running on a server and will be used by multiple people, then the Server URL will behttp://<hostname>:port/FusionRegistry - Choose a username and password for the primary administration account. This is typically named
rootoradmin- you can also set a limit on the maximum of unsuccessful log in attempts before the account is locked


